Printing: Preparing materials for print and finishing box
Having my logo done, labels for back and front I tried to find a please where I can get it printed. I had a look online, but most of complaints print in 100 or 200 amount, some of them could print what I want but it was very expensive. I went ti the print workshop, and tried to find help, a man from workshop helped me. The way how we could realize it: if I print my labels on a normal paper and after stick the sticky paper on the top of it, so basically I invite stickers. Also the reason why I can’t print it online, because they have only templates for sizes and shapes. But I need custom size.
 So, with this idea I went to the Adobe Illustrator tutorial on YouTube and watched a lot of videos how to prepare materials for print. First of all the whole document should be in CMYK colour scheme. Secondly, all the fonts should be converting to the outlines. The size of my each art board should be exactly the same size as I need it printed, otherwise I got a bad quality.
 In addition, safe area is very important element. If I print something without safe area space, I risk to have a cut pieces of my design. Which is really important when print big amount of copies.

 As it was a trial printing, I will change it next time.

So, the process of making my stickers: I have a ready cut rectangle with label, I stick two-side sticky tape on the back. And stick the whole thing to my bottle.


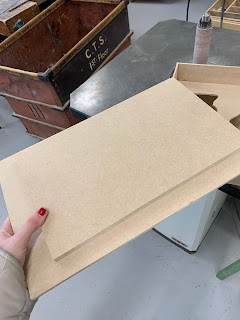
Also I worked in the wood workshop and I made a shelve inside for my products.


In the end I glued all parts together.

Update (02.03)

Process of measuring bottles and creating a stickers, so it will fit to the size.

In my next post I will show the whole box construction. The plan is to stick a textile material all over the box to make it look exclusive. I will print pattern and will apply it to the inside of the box.


Going through all this process, I made a mistake, I didn’t save file after checking spelling, so I printed labels with mistake.


The size of labels is 10x7. After I printed labels, I found out that there are no borders. Next time when I will print it, I will check all spelling twice, and I will create borders to make this work easier for me.
I planned to print all my outcomes on craft paper, but after talk with technician I realized they don’t have this paper. So I eneded up with white paper, which works quite well.
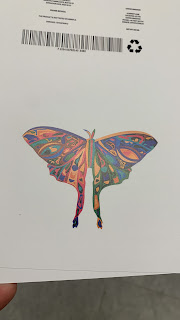
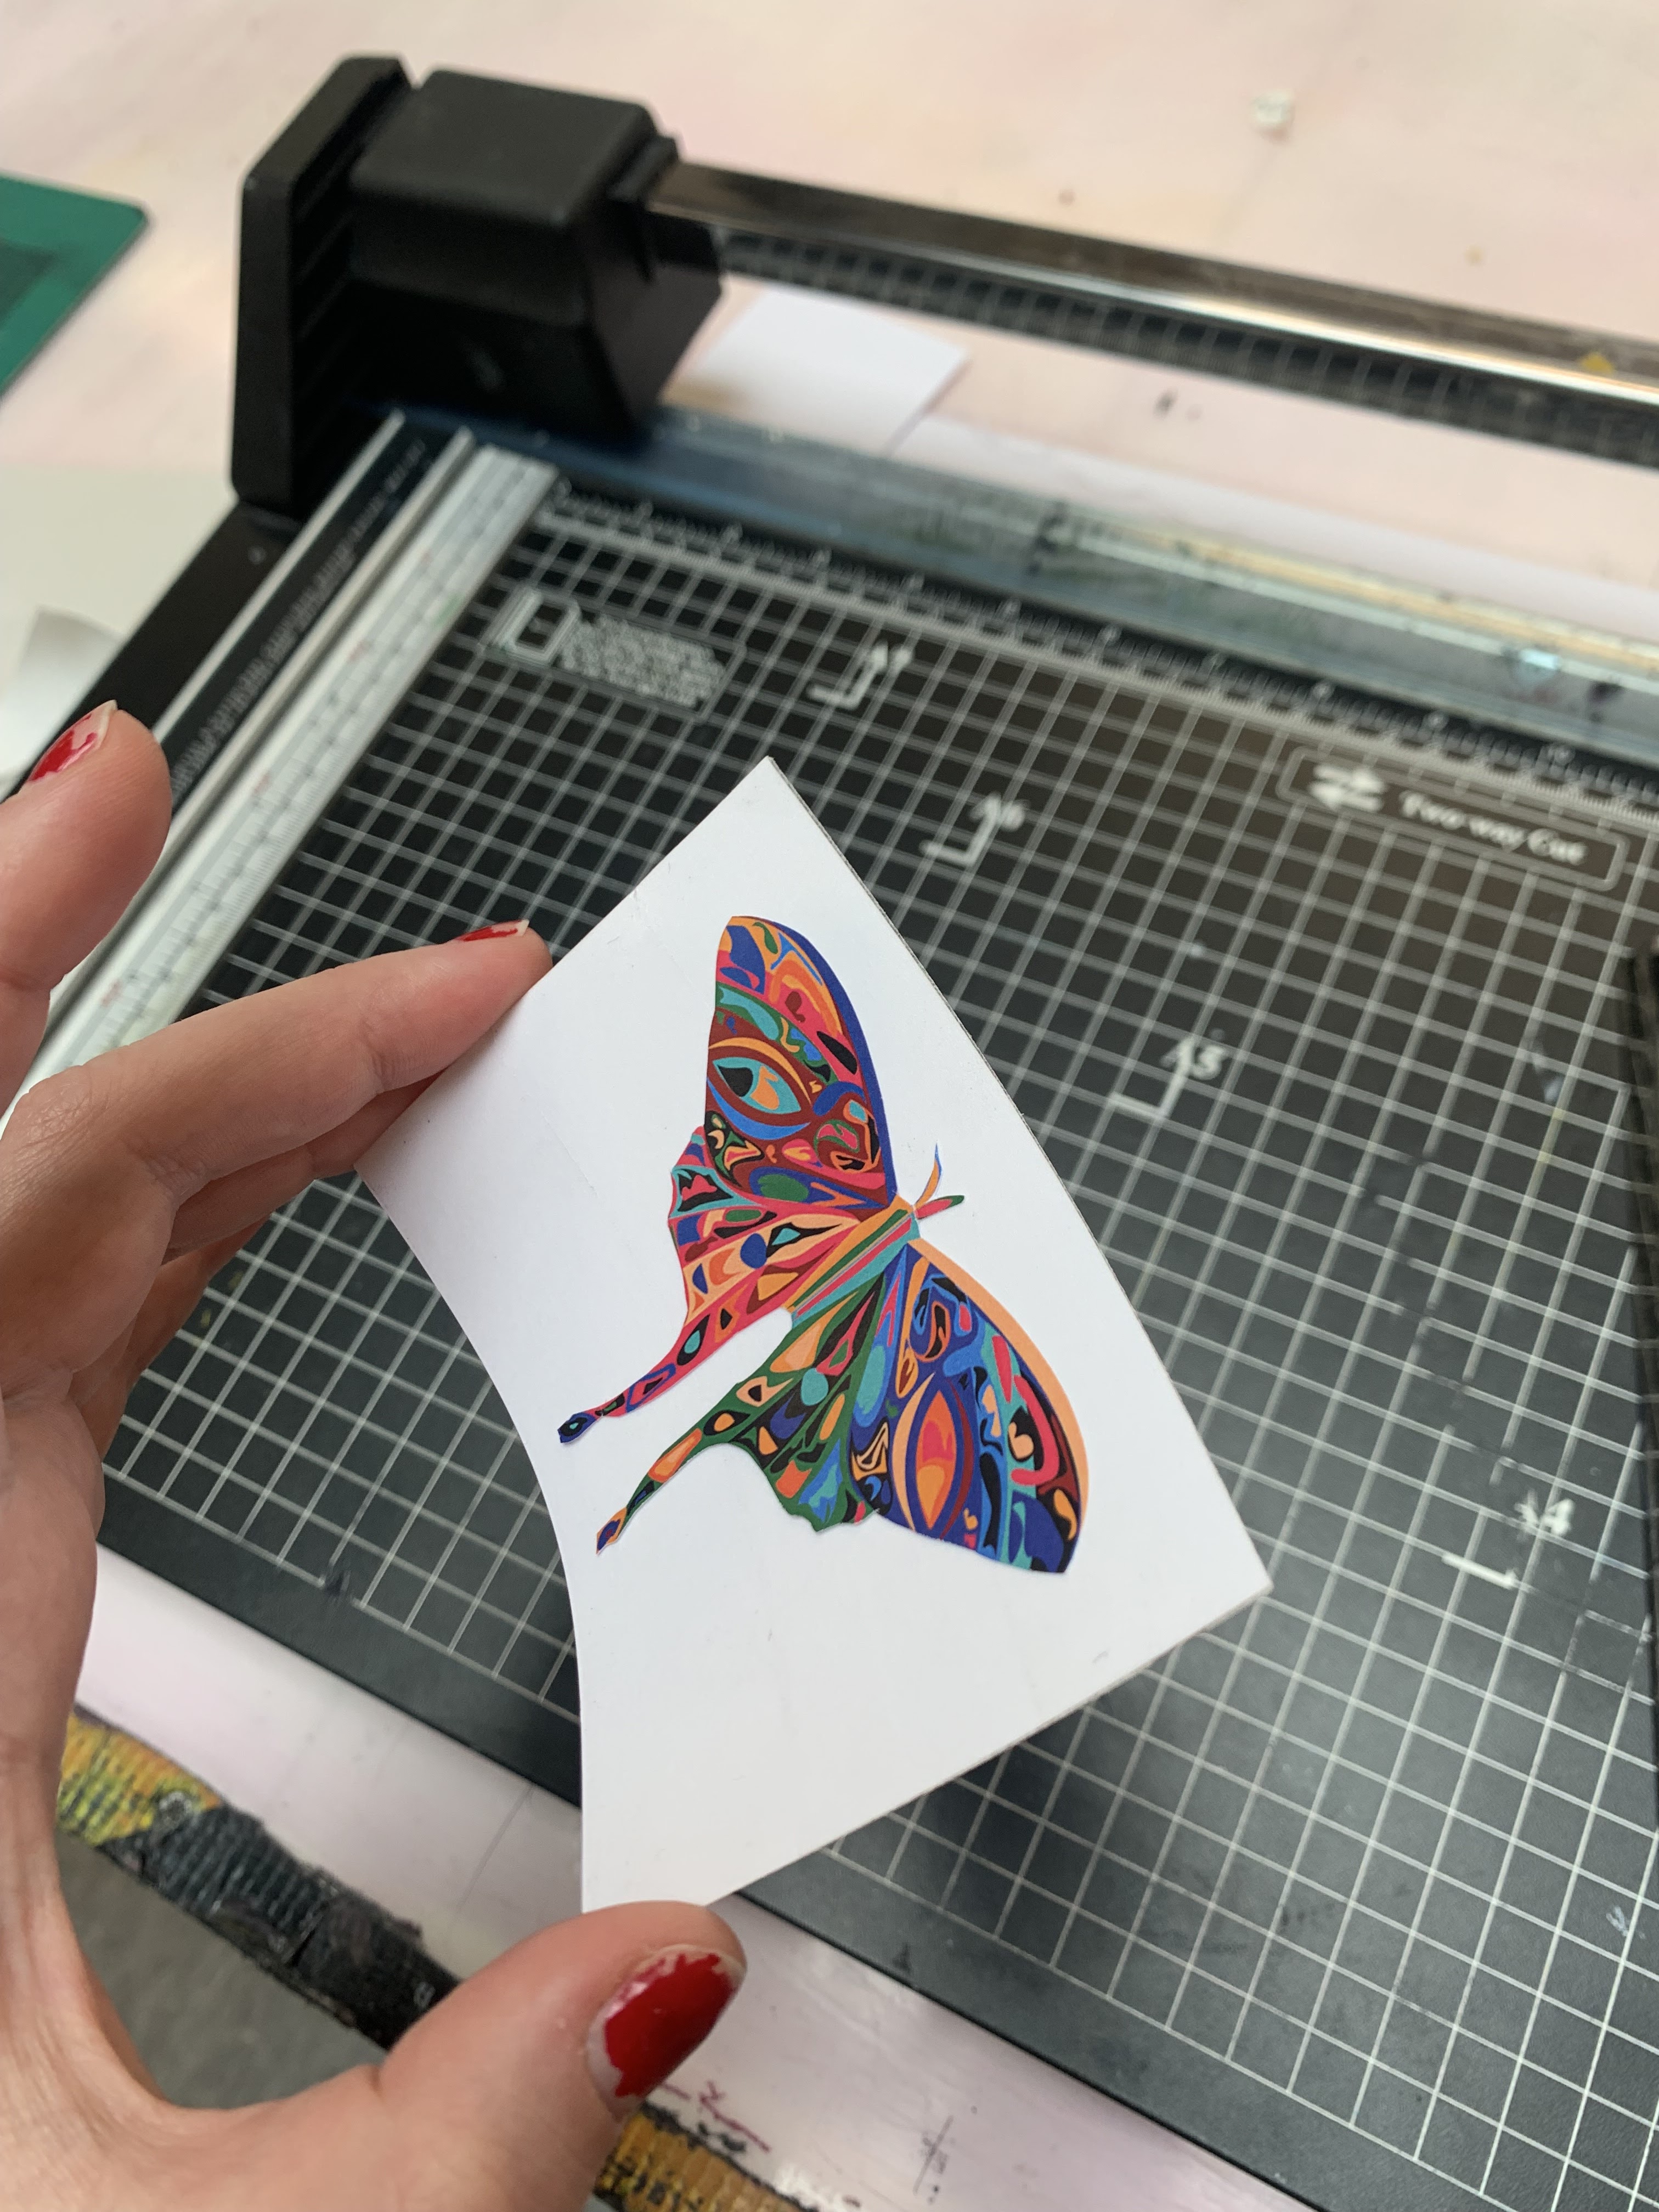
The one Brilliant idea - to make the main logotype visible from the inside. I really wanted to realize it, and tried ti find ways how.

After I cut a butterfly out of paper, and sticked it to one side
Of a sticky paper and put the whole thing in the bottle.


Also I created a lid from 2 parts. One part is a small rectangle, second part is bigger.
I created a handle for it, using a send paper, cutting mashine.
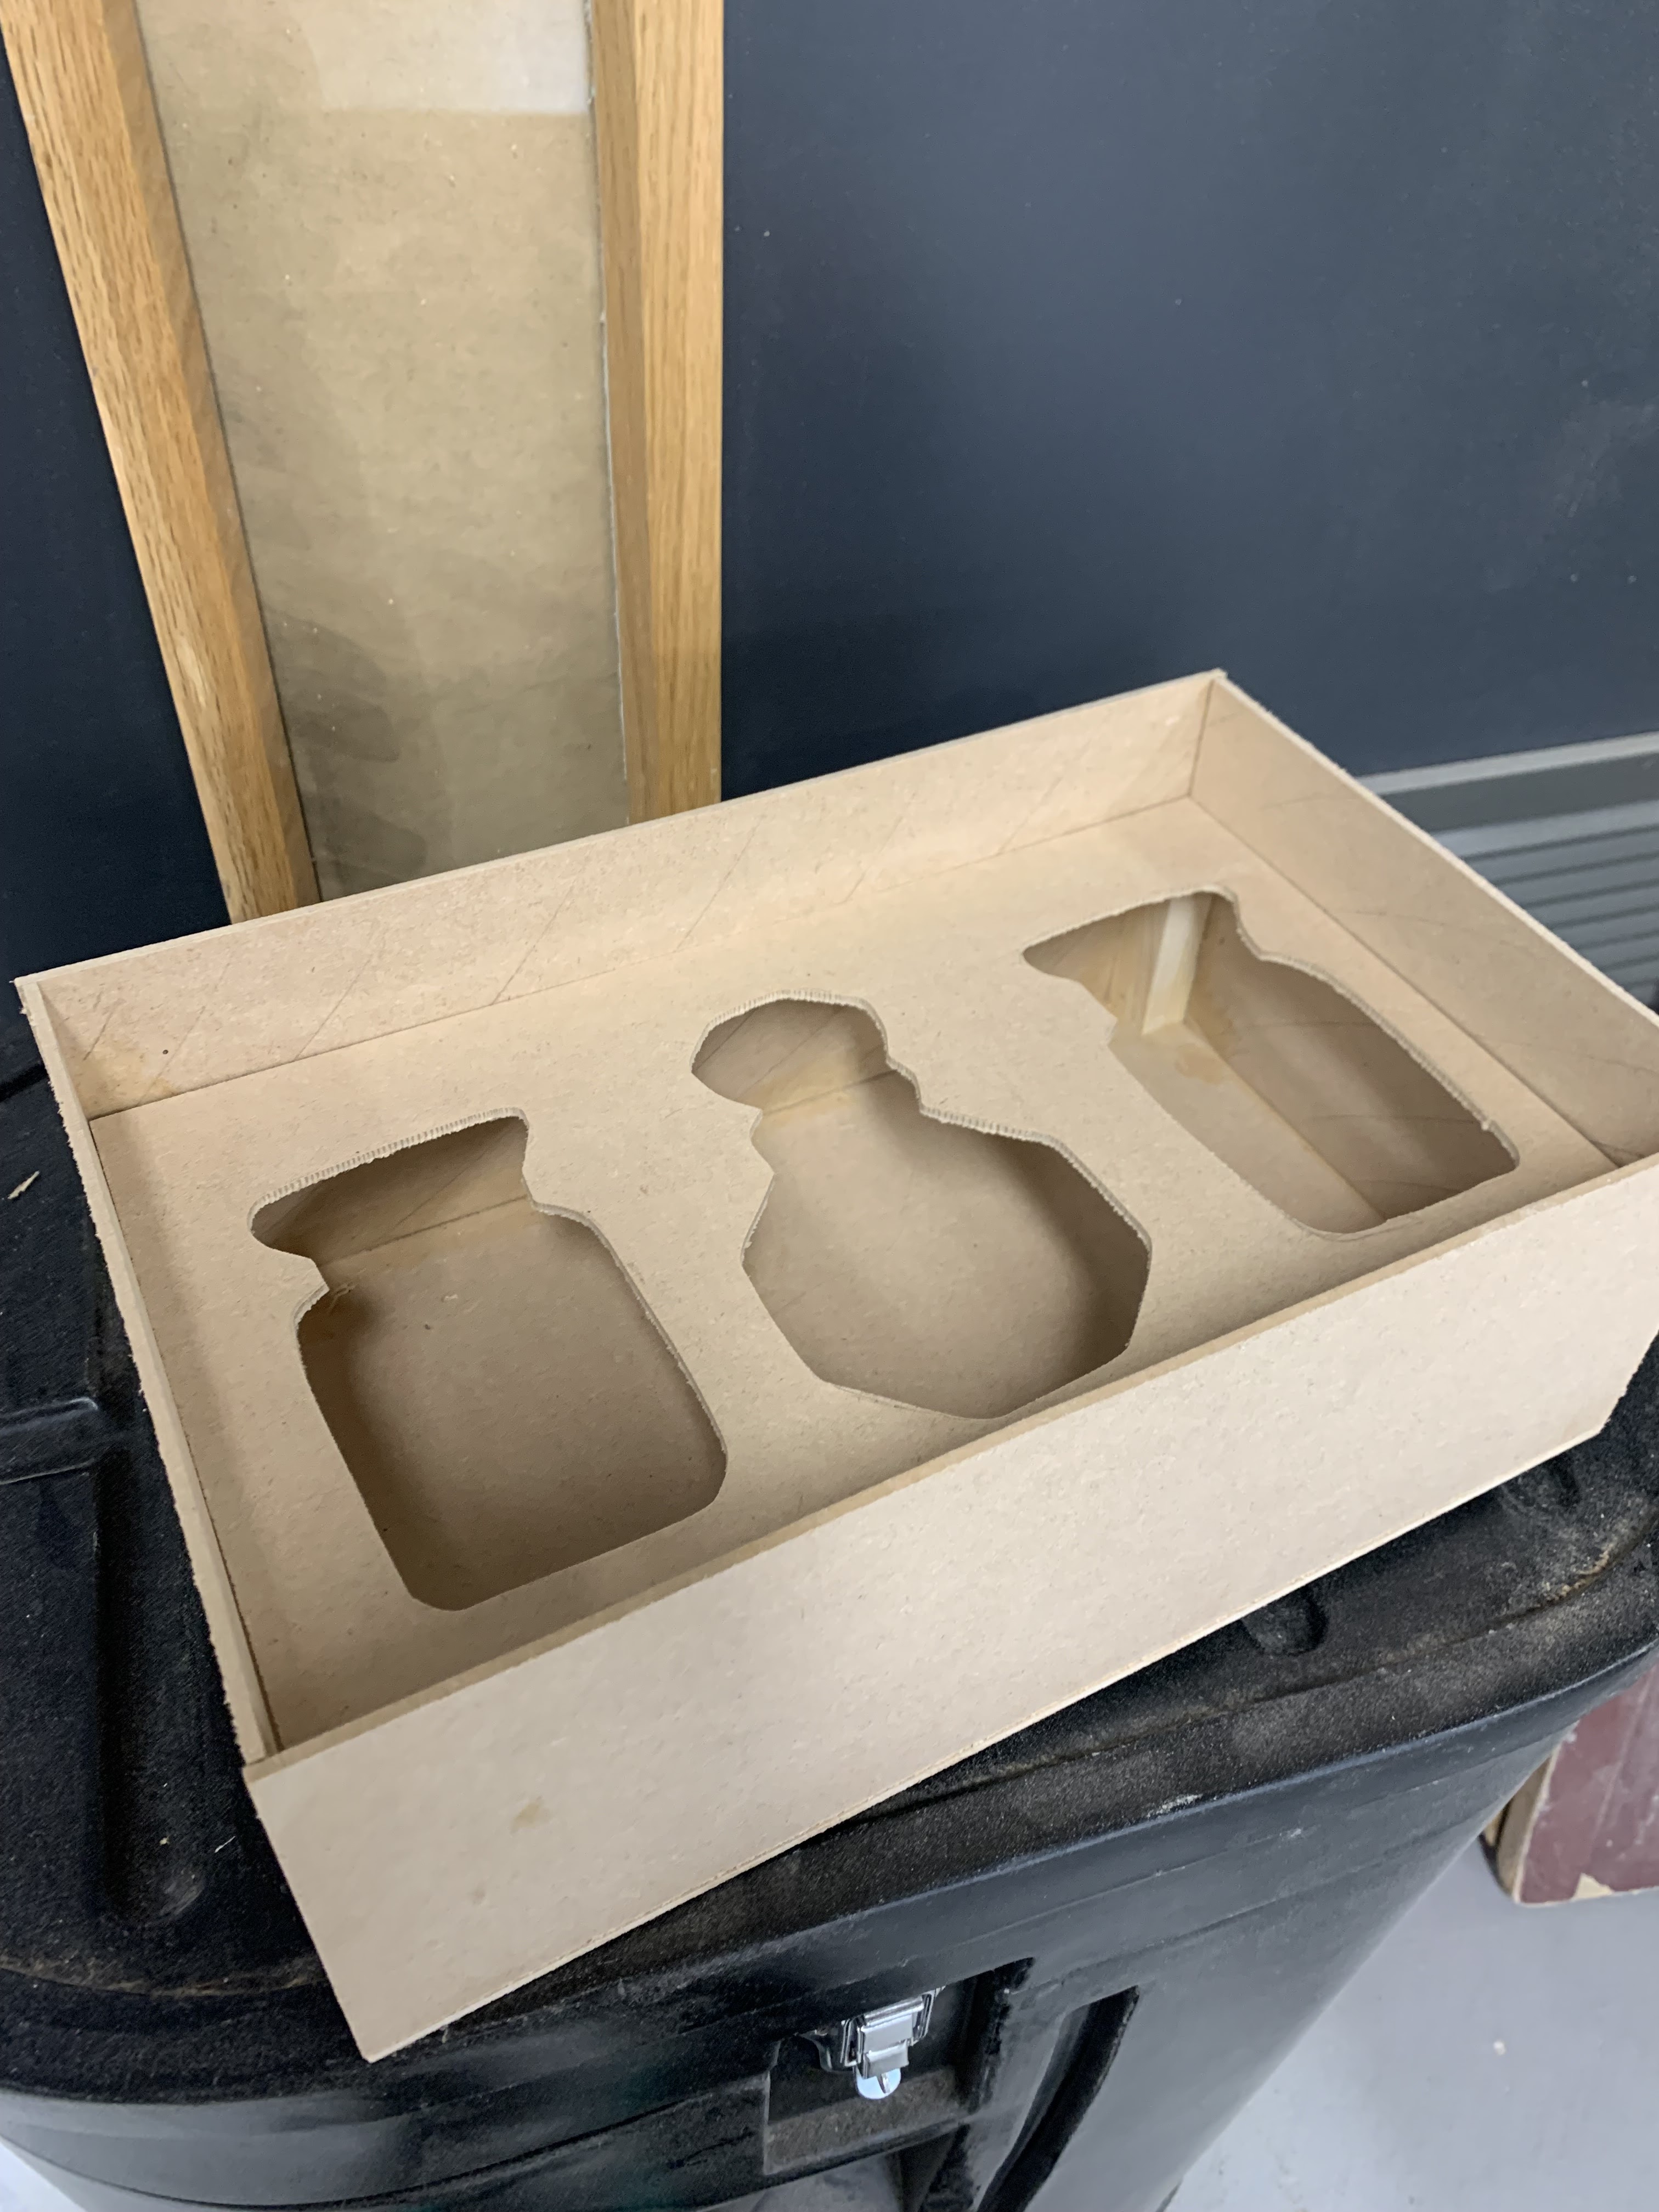


The outcome of a box.
If I will do this box next time, I will put more attention to the measuring and how the glue is getting dry, because this time a lid does not stay properly, it is a bit curve. I can still use it in my project, it is symmetrical and looks unique. But in ideal world I could avoid it.

Update:
After my tutor suggested me to use a velvet or something similar, I was going to go to the Magic Material shop, which I will show in my next posts. Now I am thinking about red or black velvet.